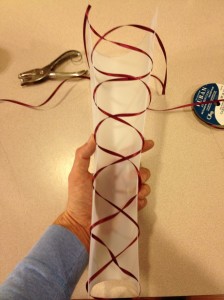
DIY Adjustable Boot Shapers
Yes, you can buy boot shapers. I had a hard time finding them locally and decided I’d rather make my own. You can make them for about half the price of buying them.
Lucky for me, I have a husband who can engineer just about anything I ask him to. He enjoys the challenge, which plays to my benefit! Below are his instructions for creating your own boot shapers, the math is at the bottom.
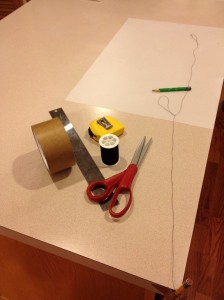
Supplies:
- Quilting template/stenciling plastic ($1.99 ea)
- Ribbon ($1.99 for value rolls)
- Tape measure
- Ruler
- Scissors
- Thread or string
- Pencil
- Tape
The idea was to make a conical section of plastic that would easily lace. I created a simple jig that would allow me to trace out the templates using some basic trig, pencil and string, I was able to make a simple template maker.
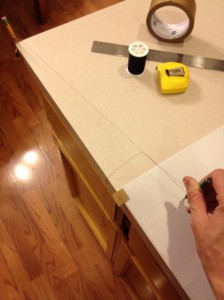
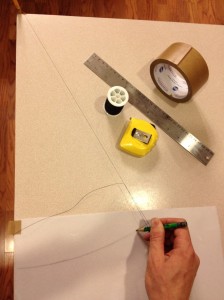
I used a stick and tape to create a rotation point at the end of the work space. To this, I tied a length of string. At the distance of the first line I tied a loop into which I could insert a pencil and at the farthest line I made another loop.
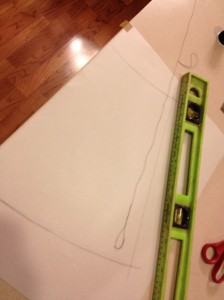
Using these loops I could use the string to draw a nice arc along that would become the bottom and top edges of the template. On the bottom arc I measured the circumference of the ankle and drew a mark, put the pencil in the far loop and used the mark on the inner arc to mark the end of the sweep of the outer arc.
 |
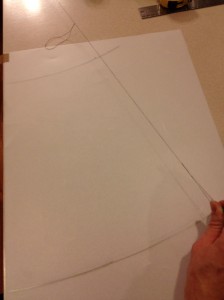 |
Using a straight edge I drew a line from the inner mark to the outer arc’s mark which completed the outline of the template.
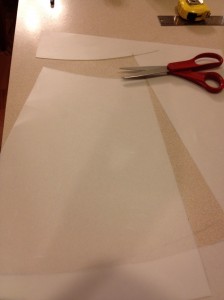
Next I cut the template out and used it to create additional templates.
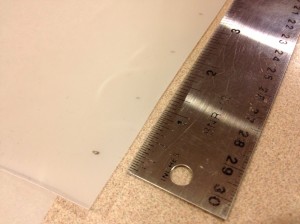
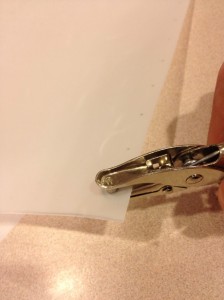
To create the holes for the lace up, measure in 1 inch increments and then use a hole punch.
 |
 |
Next, simply lace up the ends and then place boot shaper into the boot and adjust before tying.
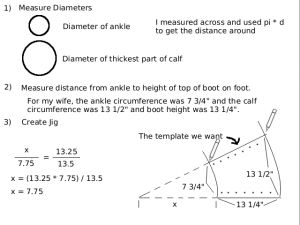
Here is the math!

